-
 p1010316November 30, 0002 12:00 AM
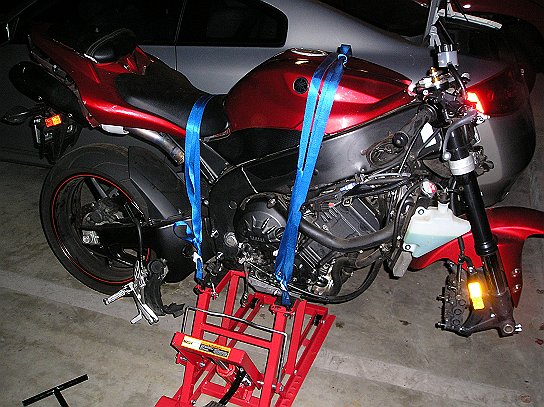
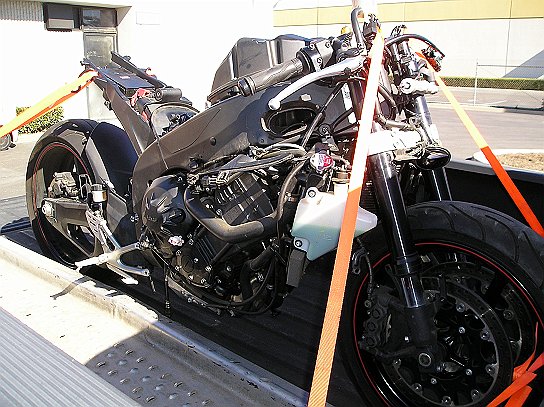
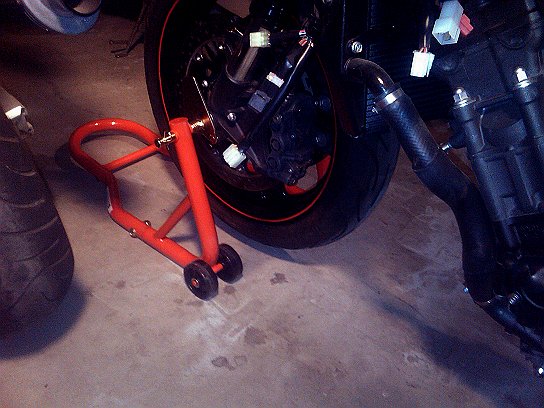
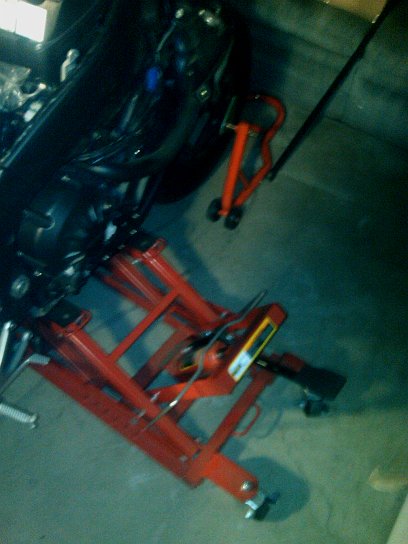
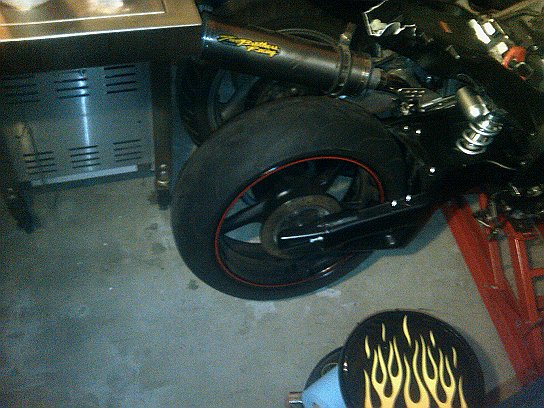
It has begun, the first thing I need is a front wheel so I can roll it around, kinda hard with a bent wheel and a flat up front. This lift became probably the most valueable tool throughout the entire project. The tiedown points make sure it stays firmly in place and with wheels on the lift you can move it around. If you are doing alot of work yourself I highly recommend getting yourself one of these they'll set you back about $120 or so but are worth every penny of it!! Just remember to remove the exhaust before using it or you wont get a good flat area to lift from and risk possibly crushing your pipes.
-
 P1010414November 30, 0002 12:00 AM
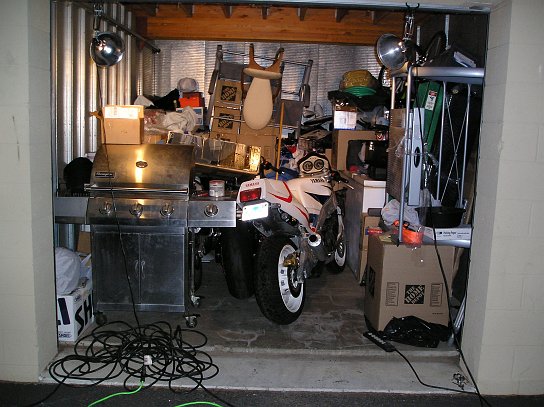
One seperation later and we have my new workshop lol....my home away from home for the next few months..
-
 P1010386November 30, 0002 12:00 AM
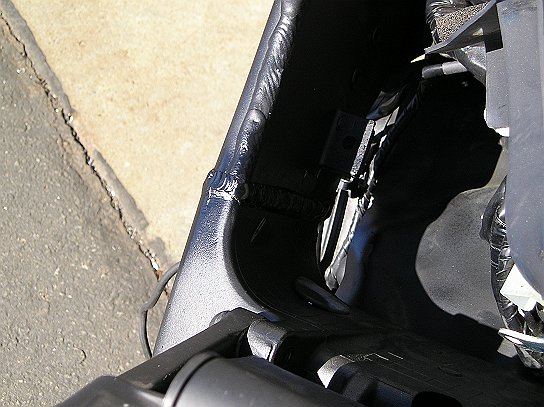
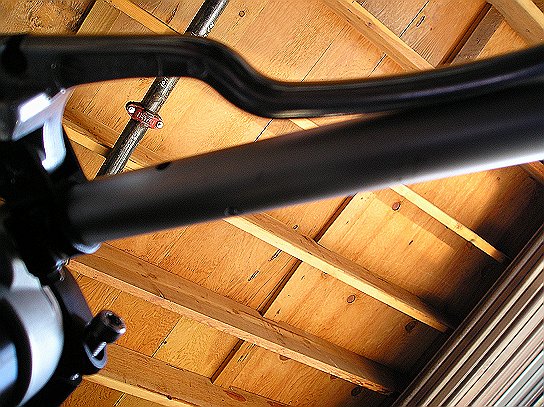
Can't remember why I shot this particular angle but you can see the crack in the frame there continued on the inside of the frame all the way around right trhough that weld.
-
 leftsideNovember 30, 0002 12:00 AM
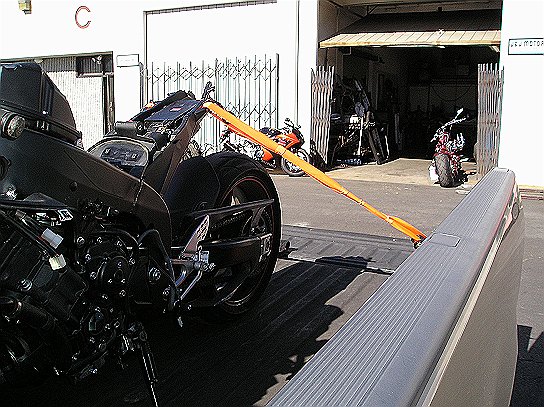
One trip down to Anaheim and finally we have the second and probably the most vital phase of the repair now complete. The frame is fixed and loaded back in the truck getting ready to head home.
-
 rightsideNovember 30, 0002 12:00 AM
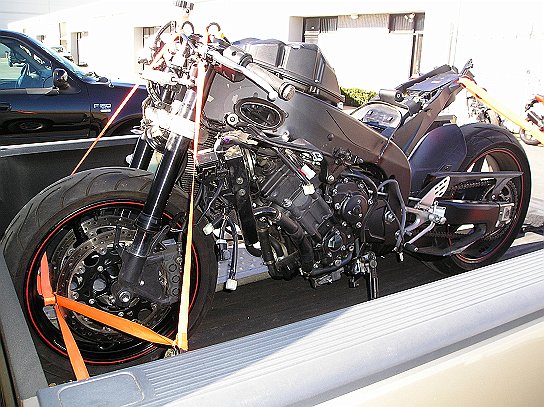
Another angle all loaded up and tied down. Getting this repair done is what held me up for months researching and figuring out the best way to go about fixing the frame without breaking the bank. Or if replacing the frame was a better option..well this was easy simple and quick and it worked like a charm I've had no issues I can't praise this place enough!!
-
 dr.johnsNovember 30, 0002 12:00 AM
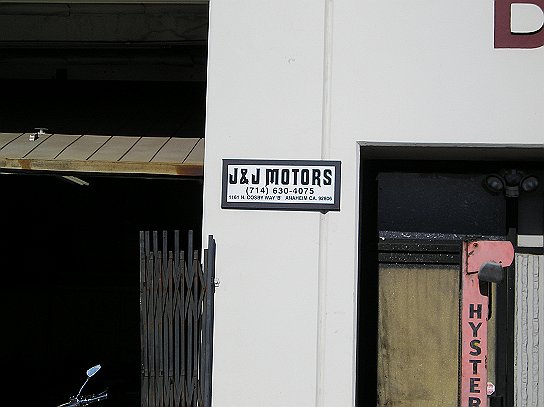
This is where I got it fixed, good pricing, maybe this will bring him more business. The sign says J&J Motors but he's known at least to "high Octane Power Sports" as "Dr. John's"
-
 post_weld_shopviewNovember 30, 0002 12:00 AM
Just a shot trying to capture both the bike after the repair and the shop that did it in the same photo.
-
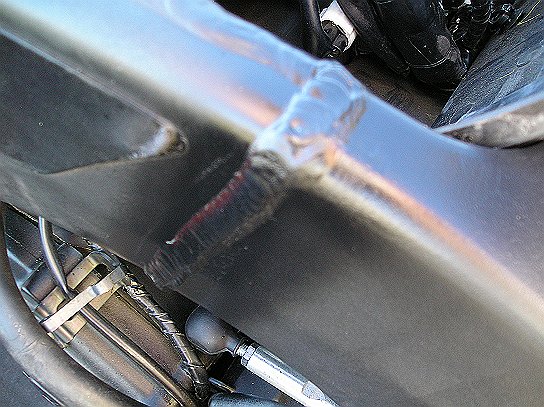
 frame_weldNovember 30, 0002 12:00 AM
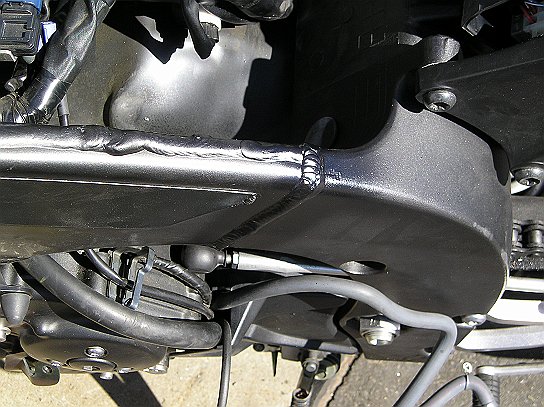
Nice job on the weld. I was really happy with the results.
-
 closeupNovember 30, 0002 12:00 AM
Close up view of the weld.
-
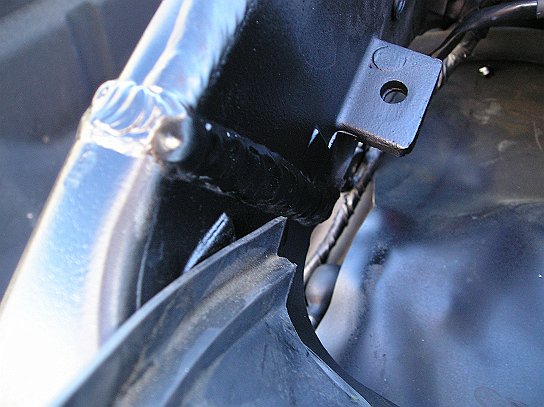
 inside_weldNovember 30, 0002 12:00 AM
From the inside.
-
 closeup2November 30, 0002 12:00 AM
Another close up from inside.
-
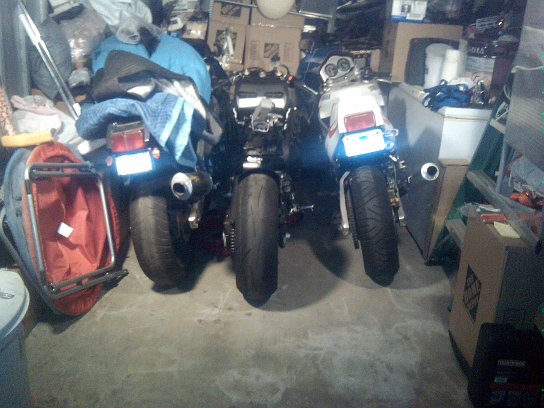
 IMG00017-20090120-2117January 20, 2009 9:16 PM
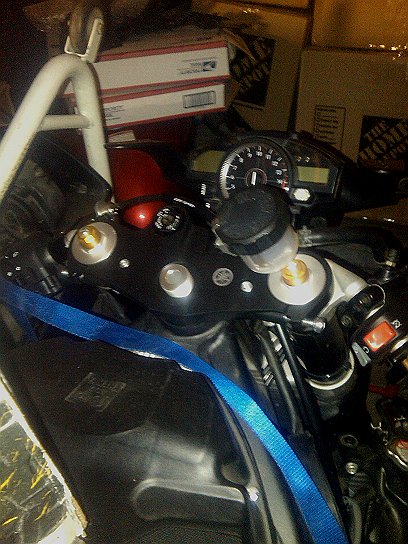
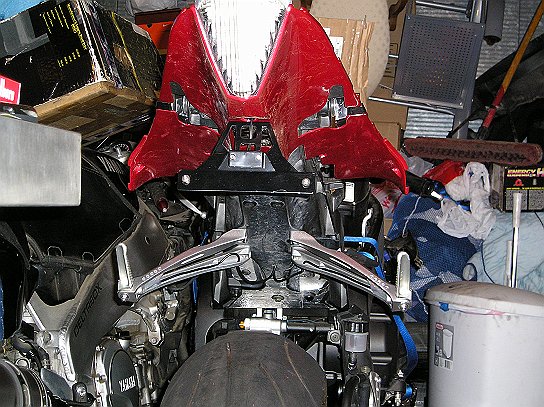
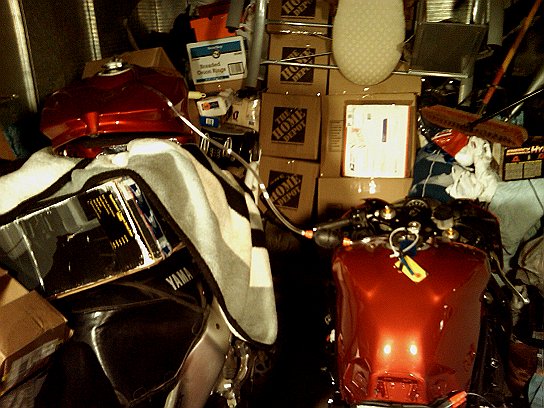
Kinda like sardines in a can lol but they fit that's the part that counts.
-
 P1010400November 30, 0002 12:00 AM
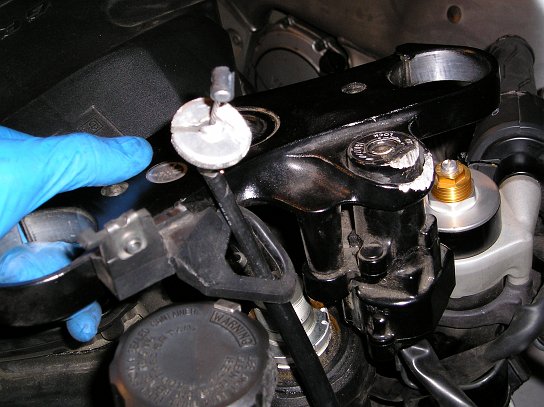
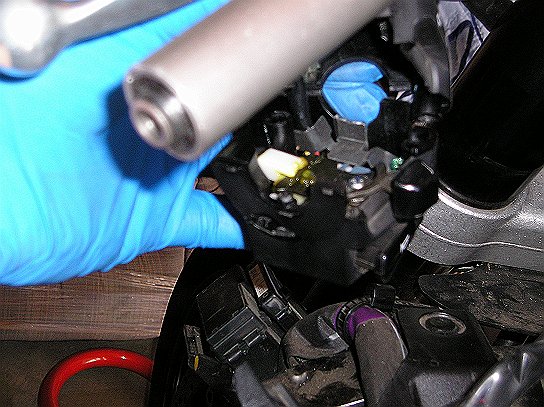
Close up of the damge to the triple tree, ignition, & clutch cable
-
 P1010401November 30, 0002 12:00 AM
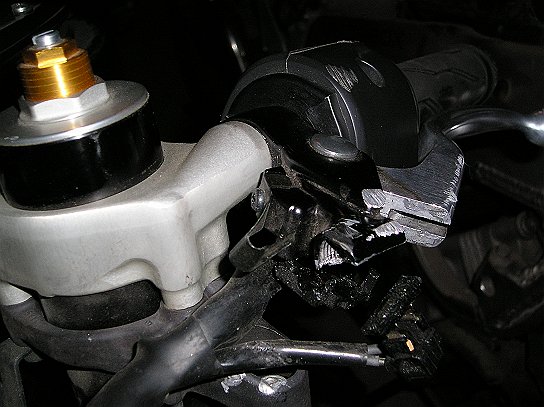
Close up of the mangled clutch cable perch.
-
 P1010402November 30, 0002 12:00 AM
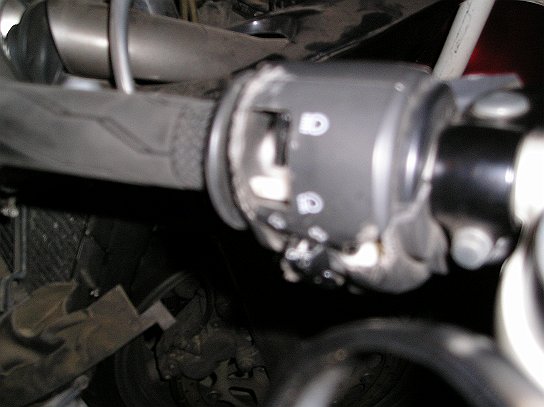
A little blury but this kinda shows the damage to the light / turn signal switch.
-
 P1010387November 30, 0002 12:00 AM
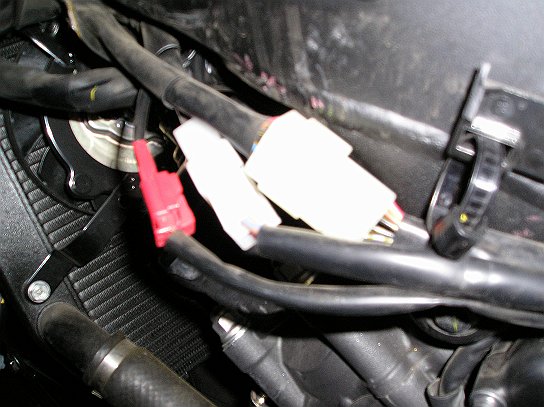
Nothing much here, believe I took this to remind myself roughly where the wires led down from the light switch.
-
 P1010412November 30, 0002 12:00 AM
Front with the old damaged upper triple removed ready for the replacement. You can see the damaged light switch a bit clearer here as well.
-
 P1010415November 30, 0002 12:00 AM
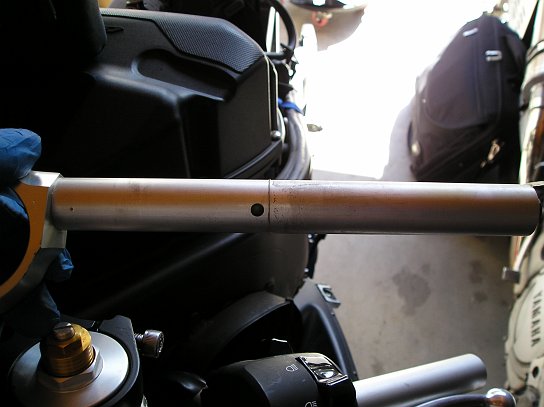
Ok something to note here the handle bars have slight differences yet come from what was labled on ebay the as same year...notice the bolt mounting points on the lower one that came with the '07. This is for a bracket that acts as a kind of cable guide.
-
 P1010416November 30, 0002 12:00 AM
Also note the hole location...dead center on the bottom. This is used as a location positioner for the light / turn signal switch.
-
 IMG00019-20090124-2131January 24, 2009 9:31 PM
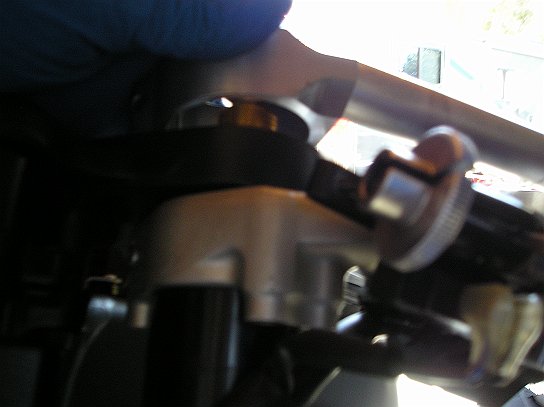
I took this shot thinking I might need to know where the dust marks were to place the clipons back in the right spot. Little did I know this being a new bike yamaha got smart and placed screw mounts through the upper triple to ensure proper placement quick and easy, that's a huge step and improvement from the last bike I did fork work on which was my 1990 FZR600. I was quite happy to find out I really did not need this photo. Posting it so maybe if someone reads this first and sometime later needs to replace a clipon or something they will know that you need not worry about placement issues.
-
 P1010419November 30, 0002 12:00 AM
If you look closely you can see the positioning dowel or nub at the end in the half moon shaped space.
-
 P1010421November 30, 0002 12:00 AM
Notice the difference in positioning of the holes location on the '07 shown here vs. whatever year the one I bought from ebay actually came from, only other possibility is if it is in fact the same year then if you have a limited edition R1 then your clipon as well is a limited edition lol...this is an easy fix though and you can still use the switch assembly. You simply have to drill the appropriate sized hole on the bottom so that you can use the other switch assembly on your existing clipon.
-
 IMG00022-20090126-2054January 26, 2009 8:53 PM
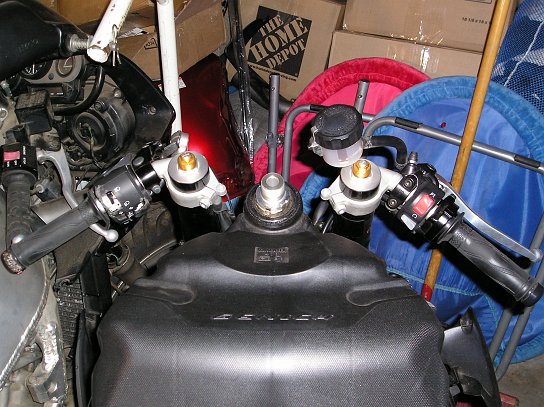
New undamaged upper triple installed. On the left edge you'll notice the new light switch is installed now as well.
-
 IMG00007-20090120-2027January 20, 2009 8:24 PM
Another useful tool, picked up the front and rear stands both for like 60 bucks from a wherehouse in LA I forget the name but found it through craigslist.
-
 IMG00012-20090120-2030January 20, 2009 8:29 PM
Just another view from the other side, I didn't notice then but I put the fork supports on the opposite sides lol the metal side support is supposed to follow the forks not go the other way haha. Good thing it didn't fall over.
-
 IMG00011-20090120-2029January 20, 2009 8:29 PM
Another shot of the stand at work from the front.
-
 IMG00016-20090120-2110January 20, 2009 9:09 PM
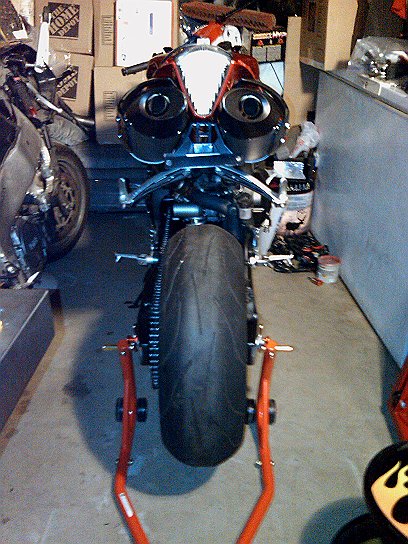
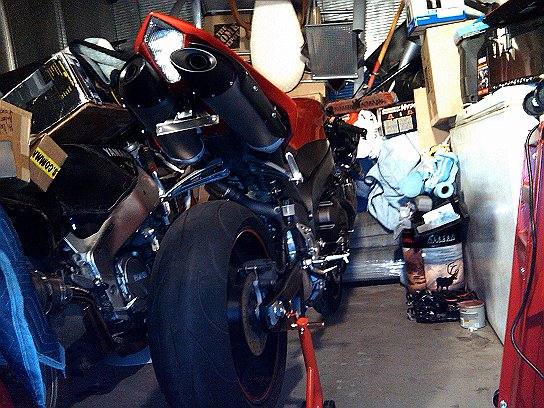
O2 sensor just dangling away lol. A shot of the lift at work
-
 IMG00015-20090120-2109January 20, 2009 9:08 PM
using both the front and the center lift helped make sure it was steady and solid.
-
 IMG00013-20090120-2045January 20, 2009 8:30 PM
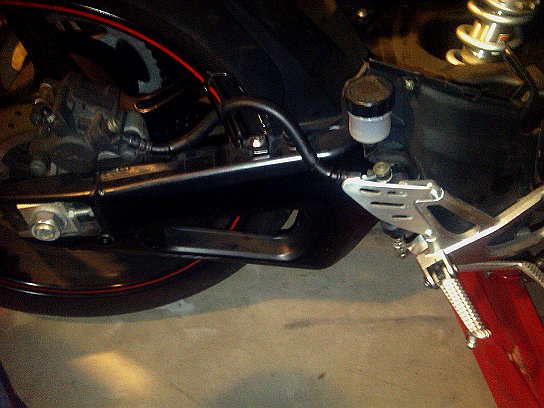
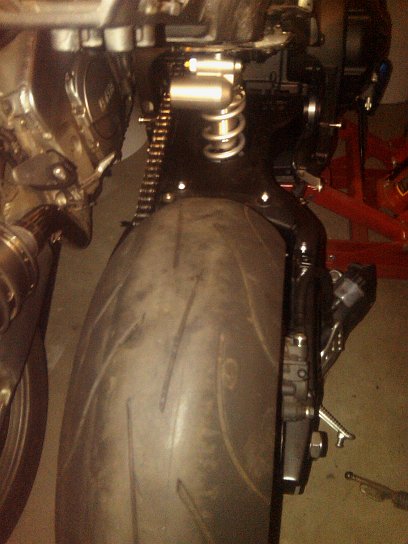
I took this so I would remember how the rear brake line path was supposed to look when I went to put it back on after removing it to replace the swing arm.
-
 P1010396November 30, 0002 12:00 AM
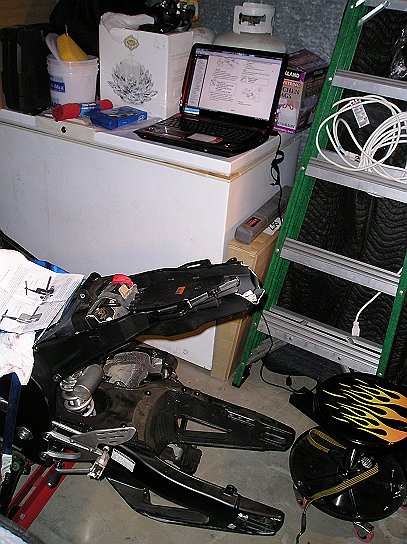
Well desperate times call for desperate measures as they say, If it weren't for the laptop you see there this project would still be on hold. Due to my ex running off to be with some other guy I had to move back in with my parents for awhile hopefully will be outta there and back into my own place soon but anyway I had no room to put my desktop and my old laptop wouldn't run the new programs sooo happy b-day to me bought this laptop and it has since been invalueable both for this and for work.
-
 P1010397November 30, 0002 12:00 AM
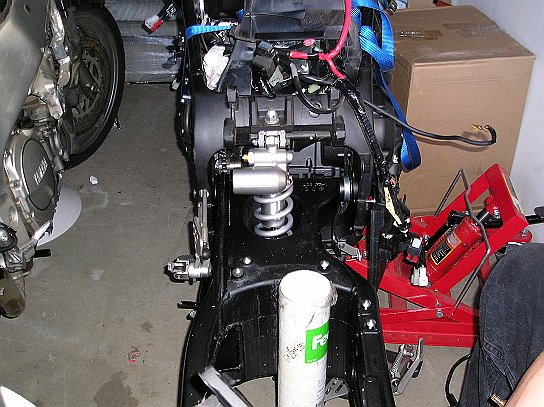
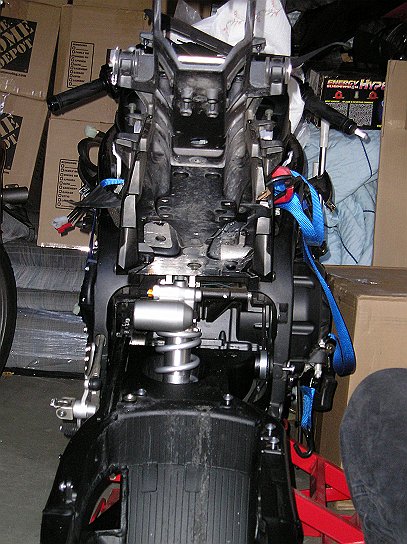
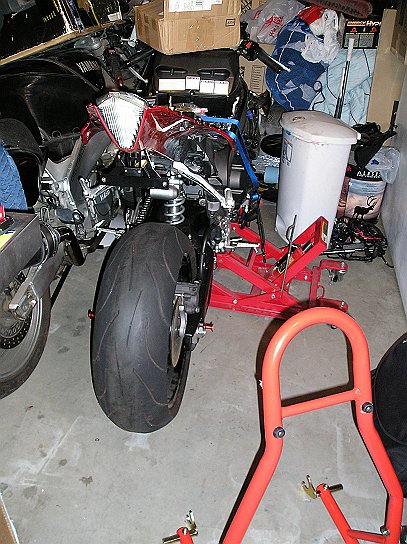
Rear tire and chain removed, next to go is the rear shock and swing arm to make way for the replacement swing arm.
-
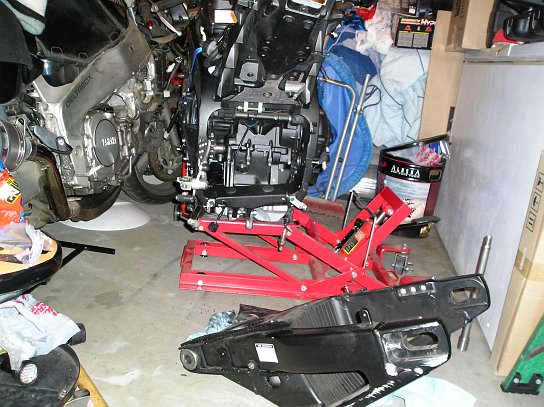
 P1010399November 30, 0002 12:00 AM
Suspension, chain, and tire removed. Replacement swingarm will be installed in the next few days.
-
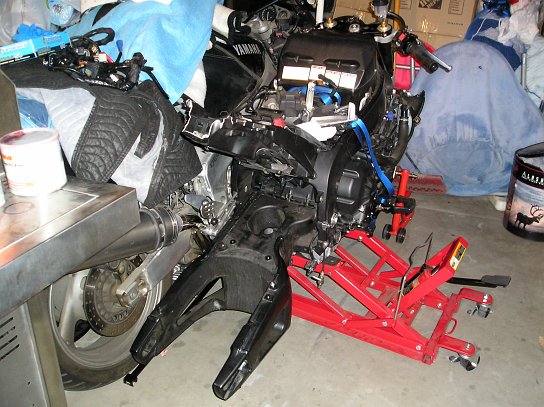
 P1010398November 30, 0002 12:00 AM
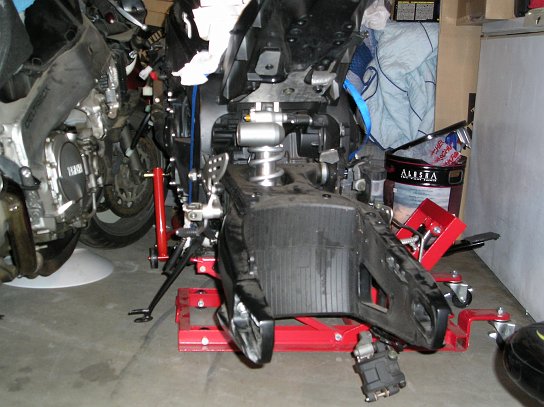
Now waiting to get the swing arm off but no tool I have will work until I go shopping. With the jack here the third bike was a close fit.
-
 P1010403November 30, 0002 12:00 AM
Old ground up swign arm removed.
-
 P1010404November 30, 0002 12:00 AM
Close up of the area normaly covered up by the swing arm.
-
 P1010405November 30, 0002 12:00 AM
Same area further back, that is not bent but the design kinda looks that way from this angle.
-
 P1010406November 30, 0002 12:00 AM
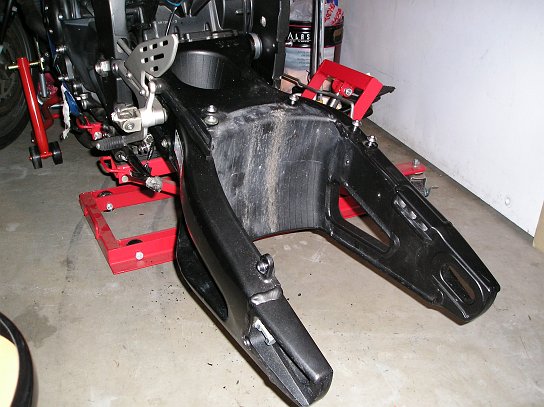
New unadamaged swing arm in place.
-
 P1010407November 30, 0002 12:00 AM
Another pic of the swing arm in, rear suspension next in line.
-
 P1010408November 30, 0002 12:00 AM
Moving right along smoothly with the rear suspension back in place.
-
 P1010409November 30, 0002 12:00 AM
Another angle. I can remember when swing arms used to be uniform, nowdays there's so much more design into them they sometimes look bent or out of whack somehow...
-
 IMG00018-20090124-2053January 24, 2009 8:53 PM
Replacement swingarm installed and rear suspension back in place, chain and tire to follow shortly. In this photo the tire is just laying in there.
-
 P1010410November 30, 0002 12:00 AM
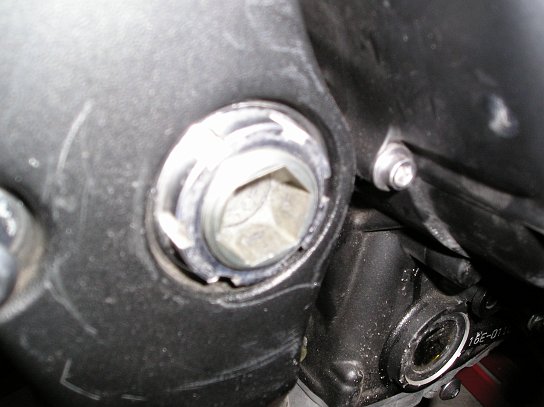
Yamaha has a "special tool" for this that will cost you $100 for just the socket to go on this...wow
-
 P1010413November 30, 0002 12:00 AM
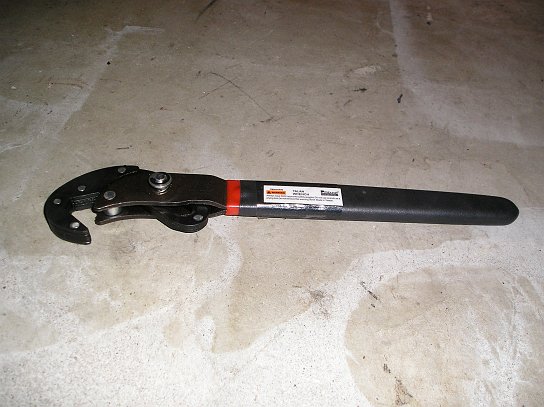
This tool will cost you in the neighborhood of $12 at Harbor Frieght....After I spent $100 for that special socket to remove the swing arm I found this guy and decided to try it while I was waiting for the socket to arrive...well..I could have saved around $88 had I tried it before ordering the socket.
-
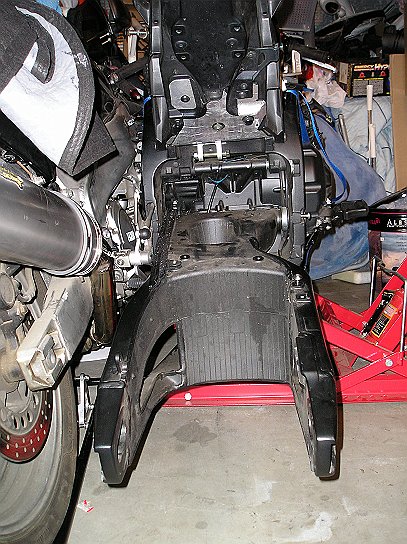
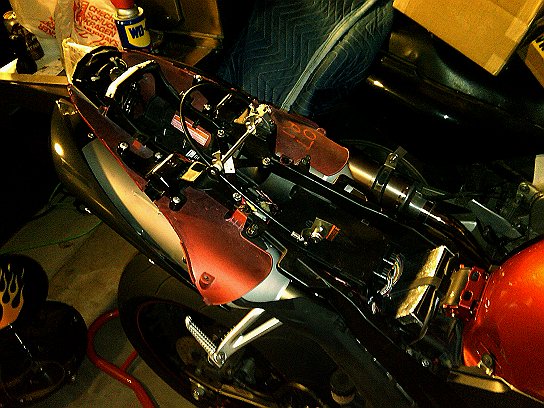
 P1010422November 30, 0002 12:00 AM
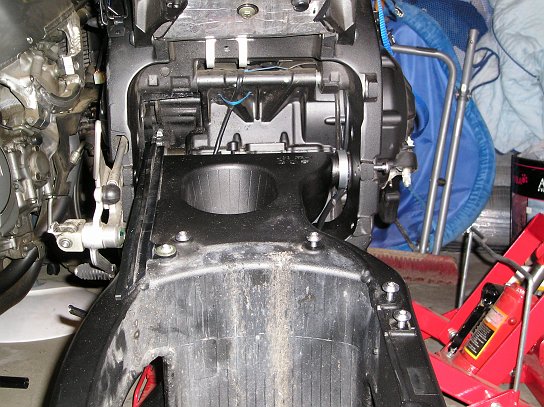
Broken subframe removed getting ready to bolt the new one in. The tube there contains the new rear axle.
-
 P1010423November 30, 0002 12:00 AM
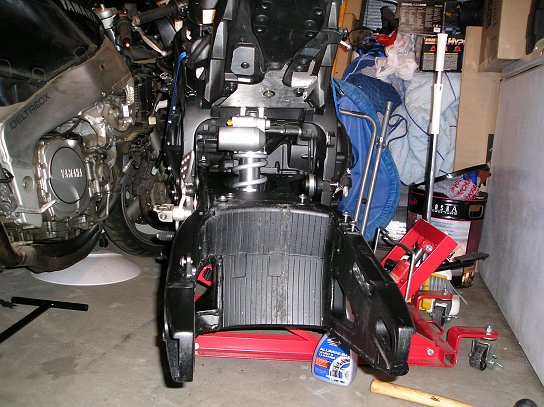
I believe I took this to show the replacement subframe installed from below before exhaust and fairings covered it.
-
 IMG00021-20090126-2053January 26, 2009 8:52 PM
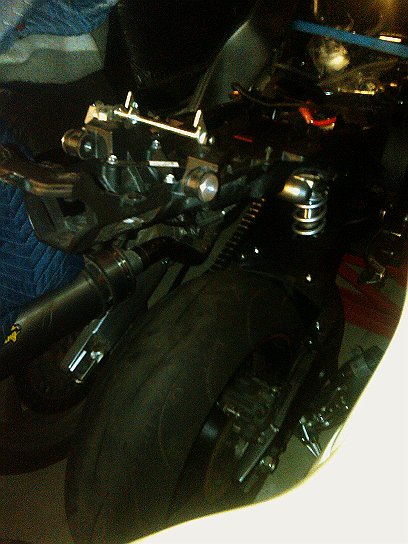
Tire, chain, suspension, and rear brake now in place.
-
 IMG00020-20090126-2052January 26, 2009 8:52 PM
Another angle showing the tire, chain, suspension, and rear brake caliper now installed.
-
 P1010425November 30, 0002 12:00 AM
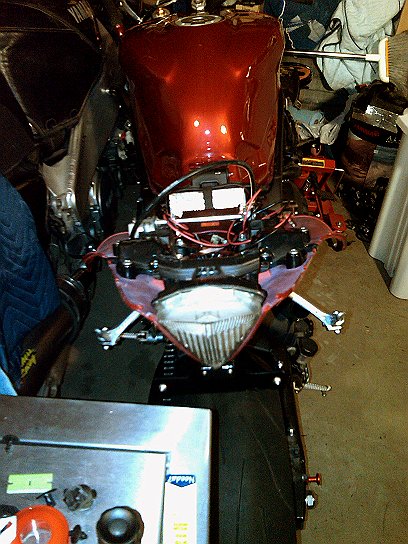
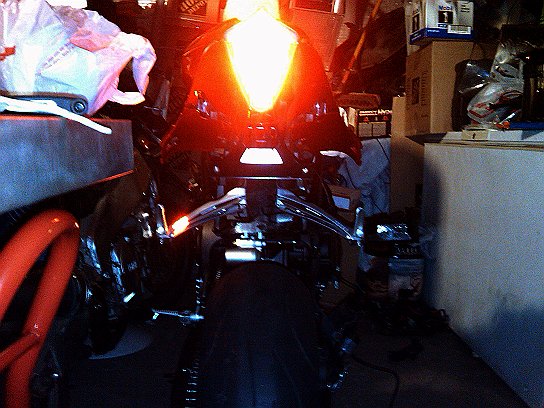
Tail light, fender eliminator, lower tail section, & new custom integrated passenger peg led rear turn signals installed
-
 IMG00035-20090130-2249January 30, 2009 10:48 PM
However the wiring isn't quite finished as you might guess looking at this one..
-
 P1010426November 30, 0002 12:00 AM
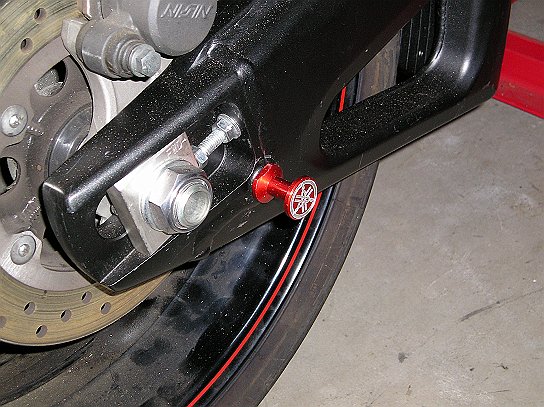
New yamaha tuning fork swing arm spools.
-
 IMG00034-20090130-2248January 30, 2009 10:48 PM
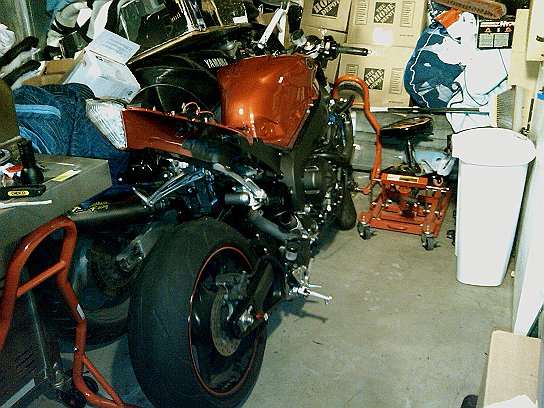
Slowly but surely we're making progress. Looking more and more like a bike again. Chain is now installed.
-
 IMG00036-20090131-1933January 31, 2009 7:33 PM
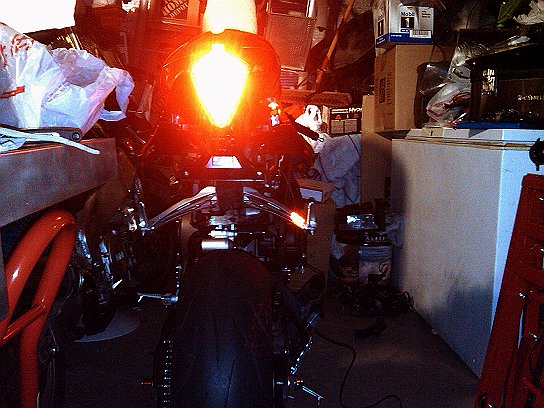
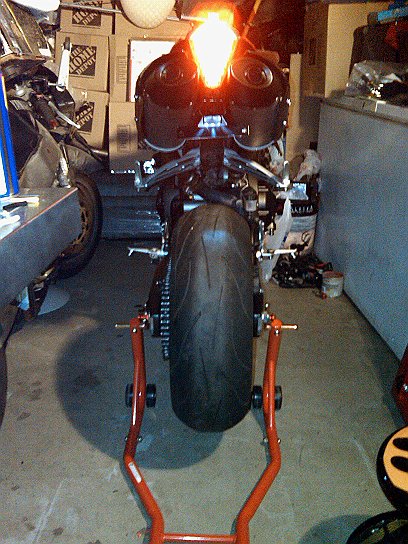
New custom rear peg signals installed and wired in to factory tail light / signal connection. Left peg you'll notice is no longer a broken stub.
-
 IMG00037-20090131-1934January 31, 2009 7:33 PM
Another shot showing the left signal working as well.
-
 P1010424November 30, 0002 12:00 AM
Rear swingarm spools, tire, rear brake assembly, chain, lower rear tail section, suspension, signals, and new plate holder installed. Getting closer to being done.
-
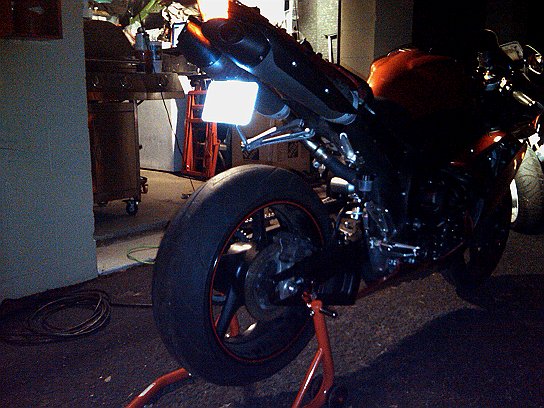
 IMG00047-20090201-2123February 1, 2009 9:23 PM
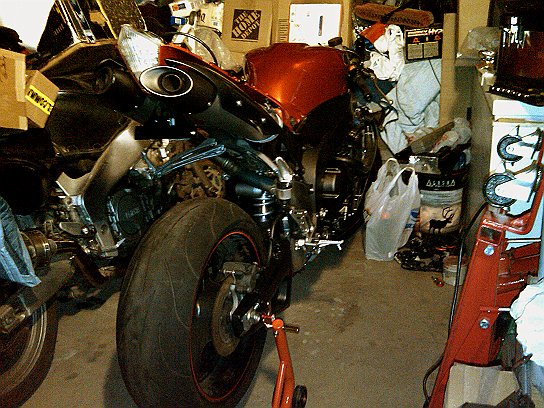
Exhaust installed woohoo!
-
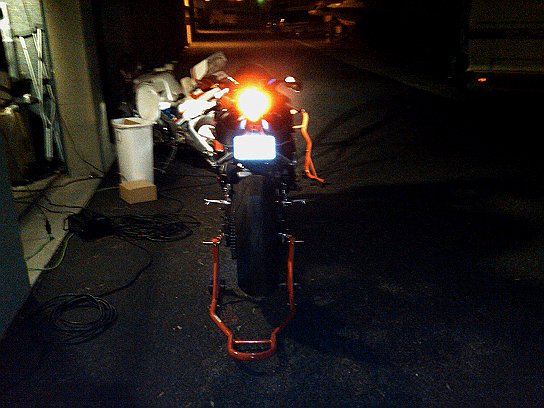
 IMG00048-20090201-2124February 1, 2009 9:23 PM
Another view from the rear showing clearly the new led lights for the plate also wired in to the stock connectors.
-
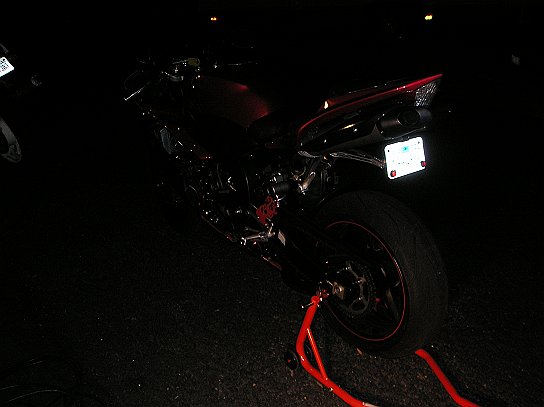
 IMG00046-20090201-2123February 1, 2009 9:23 PM
Another shot of the rear with the lights off this time.
-
 P1010385November 30, 0002 12:00 AM
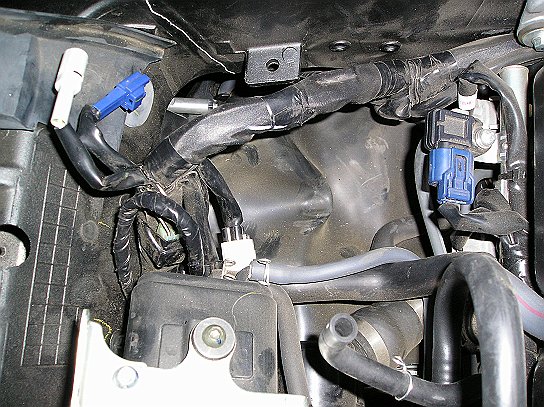
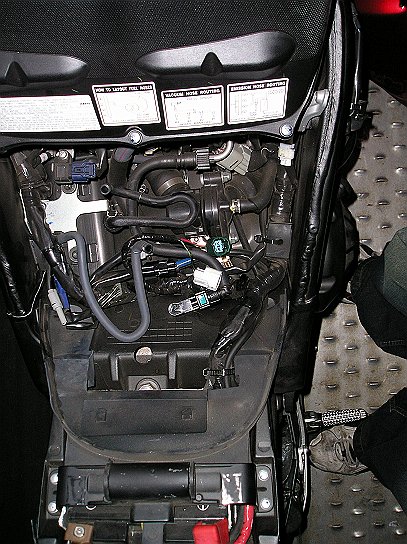
I can't remember what the purpose of this photo was but it's showing the vacuumm lines and connectors for the tank.
-
 IMG00043-20090131-2311January 31, 2009 11:11 PM
Close up from underneath the damaged clutch cover housing you can still see pieces of asphalt stuck to the housing. That bearing I would later be cutting out with a dremel to reuse lol. Hey every penny counts these days hahaha
-
 IMG00042-20090131-2239January 31, 2009 10:38 PM
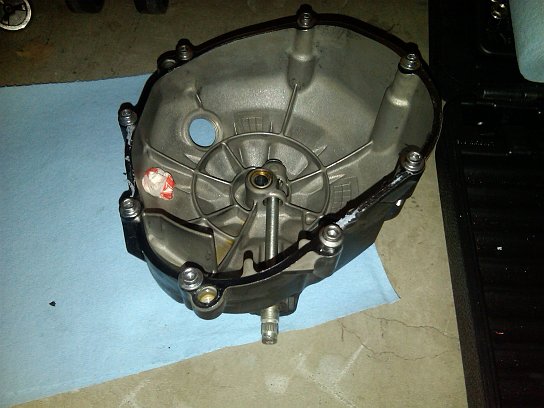
Old clutch housing the napkin you see was of course placed or stuffed in there to keep dust out while it sat for so long after the accident. The hole somehow was created when the fairing mount was pulled or hit...I would've thought the plastic would have broken off before the metal but I guess stranger things I'm sure have happened.
-
 IMG00038-20090131-2236January 31, 2009 10:36 PM
For having like 6,000+ miles on it that is the cleanest looking clutch I have ever seen in my entire life, almost makes one wonder if it was a dry clutch but it's not to my knowledge and too quiet no Ducati clatter when in neutral and Yamaha is not known for it but reguardless...THAT IS CLEAN!!
-
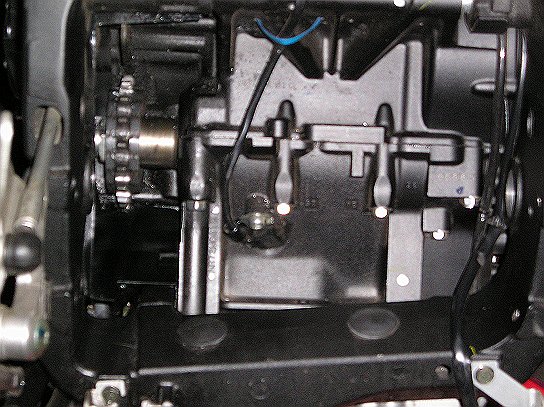
 IMG00039-20090131-2237January 31, 2009 10:36 PM
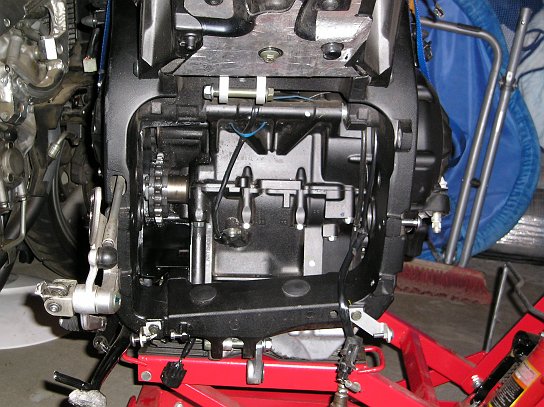
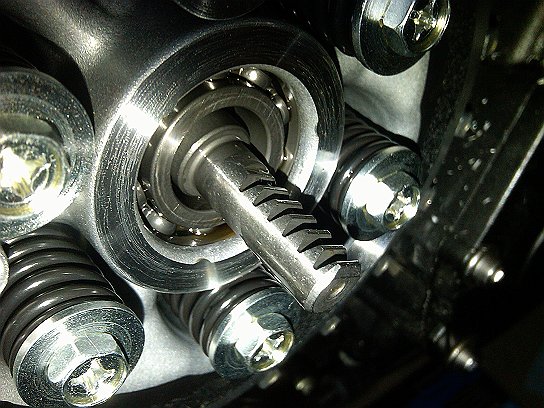
First bike I've seen using a toothed puller instead of a simple pushrod. I guess that's just another thing that's changed in the past 17 years since the design of the FZR model line up.
-
 IMG00045-20090201-1514February 1, 2009 3:14 PM
Dremels do wonders LOL! Bearing completely unscaved..
-
 IMG00055-20090202-2200February 2, 2009 9:59 PM
A shot of the rear area with wiring nicely tucked away now.
-
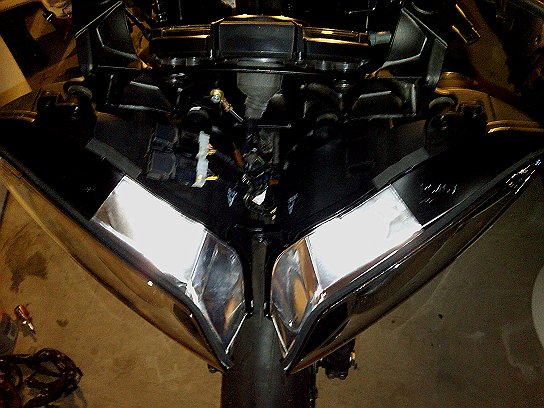
 IMG00050-20090202-2118February 2, 2009 9:17 PM
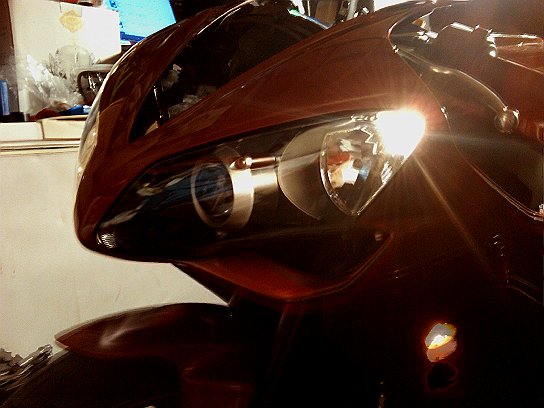
Headlights mounted.
-
 IMG00051-20090202-2118February 2, 2009 9:18 PM
A view from the top...yes I know the ballasts don't go together, the second goes on the other side I fixed that at a later time just threw them up there for now.
-
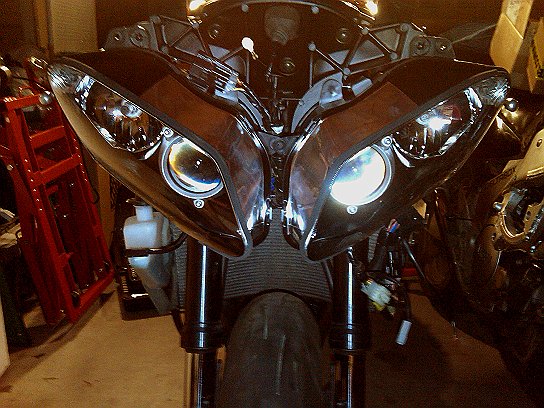
 IMG00052-20090202-2157February 2, 2009 9:18 PM
Front fairing installed, if you'll notice the ballasts are each now in the proper corresponding locations.
-
 IMG00053-20090202-2158February 2, 2009 9:57 PM
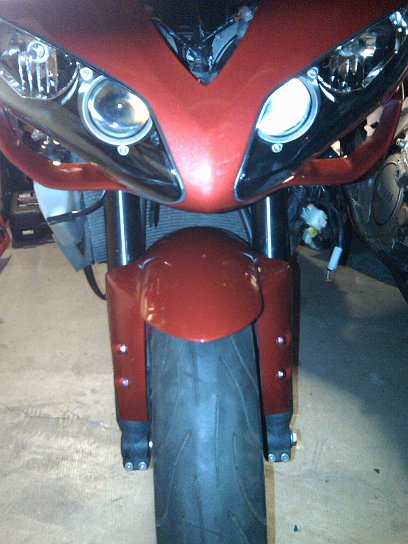
I got worried when I took this shot whatever angle I took it from made it look like the forks were tweaked pretty badly,...luckily after looking at it closer and riding it I think it's just an optical illusion created by the camera angle.
-
 IMG00054-20090202-2159February 2, 2009 9:58 PM
Another angle of the front fairing and upper triple area, one step at a time..
-
 IMG00059-20090203-2036February 3, 2009 8:36 PM
I still had a decent amount of gas left in the old tank, syphoning away.
-
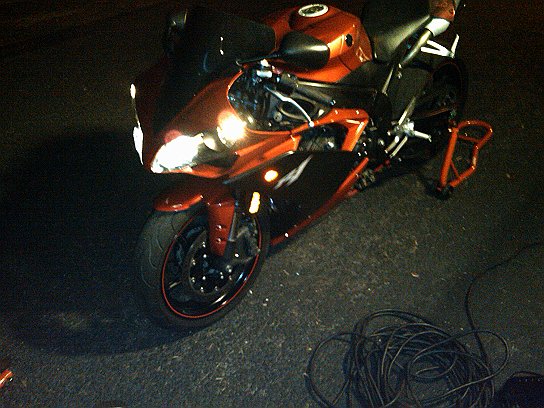
 IMG00049-20090202-2102February 2, 2009 9:01 PM
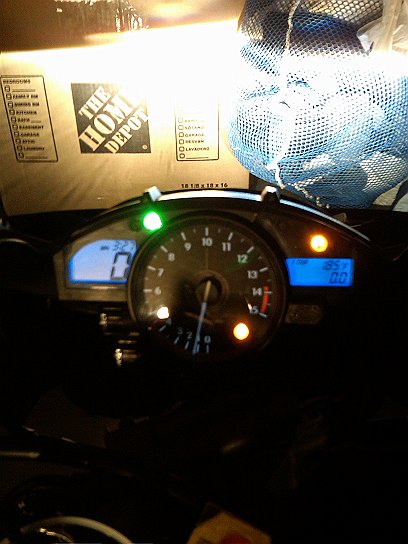
Started for the first time in close to six months but with a check engine light which I figured out was due to the outside air temperature sensor not being plugged in yet...lol..who knew..I thought it was more just a neat gadget they added than something that would cause a check engine light. Learn something new everyday I guess.
-
 IMG00057-20090202-2227February 2, 2009 10:26 PM
Another view with front, tank, and rear section in place only to be removed again later due to a paint flaw I noticed afterwards.
-
 IMG00058-20090202-2227February 2, 2009 10:27 PM
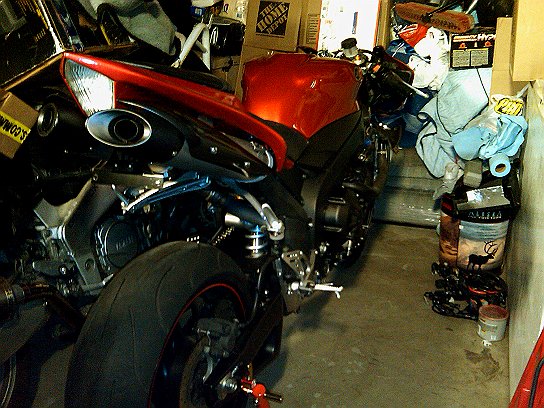
Just another angle showing more of the exhaust and fender eliminator.
-
 IMG00061-20090207-0034February 7, 2009 12:33 AM
With parking lights on, guess the camera shook a little..my bad. Still kinda cool so I kept it lol.
-
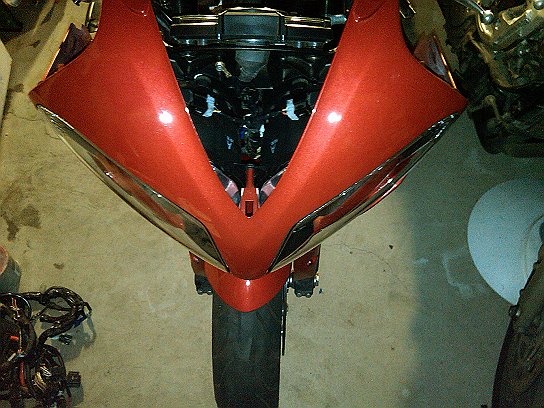
 IMG00060-20090207-0033February 7, 2009 12:33 AM
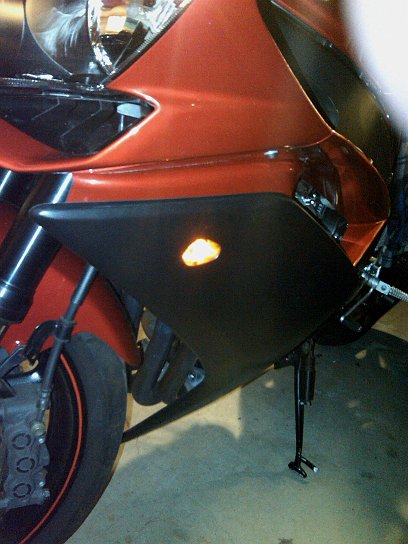
A more steady shot of the new flushmount front signals, and upper side fairing installed.
-
 IMG00062-20090207-0035February 7, 2009 12:34 AM
Right side upper fairing and turn signal mounted.
-
 IMG00064-20090207-1729February 7, 2009 5:28 PM
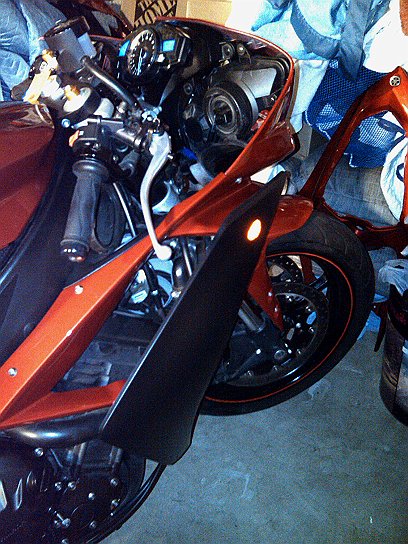
A view of the side fairing in place with new flushmount signals up front and decals in place.
-
 IMG00056-20090202-2226February 2, 2009 10:26 PM
With upper tail section in place, what a difference one piece can make.
-
 P1010427November 30, 0002 12:00 AM
Almost there, waiting on the upper tail section to be repainted.
-
 P1010429November 30, 0002 12:00 AM
Also waiting for the paint shop to find the air ducts which luckily they did a few weeks later.
-
 IMG00065-20090207-1956February 7, 2009 7:55 PM
Just took a few shots with the lights on. Still awaiting the air duct tubes and upper tail section.
-
 IMG00066-20090207-1956February 7, 2009 7:56 PM
LOL...good luck reading that plate if you take a picture with the flash on haha....I don't even need to blur it out!
-
 IMG00068-20090207-1957February 7, 2009 7:56 PM
Once again no blur on plate needed even from an angle.
-
 IMG00069-20090208-1903February 8, 2009 7:03 PM
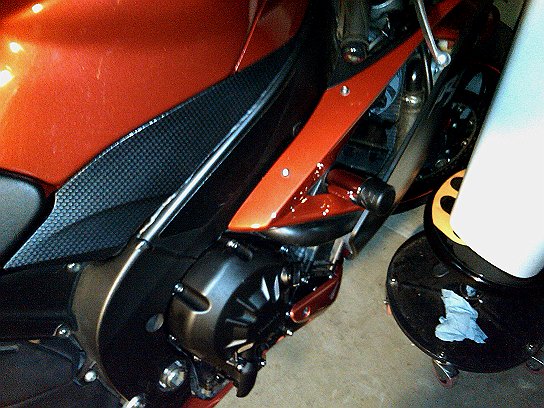
New frame sliders and clutch cover installed.
-
 IMG00070-20090208-1904February 8, 2009 7:03 PM
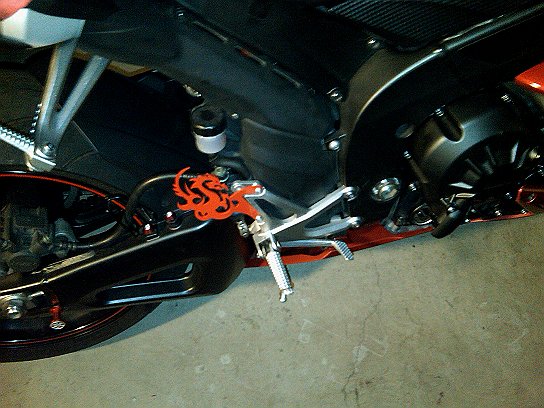
New custom tribal dragon heel guards.
-
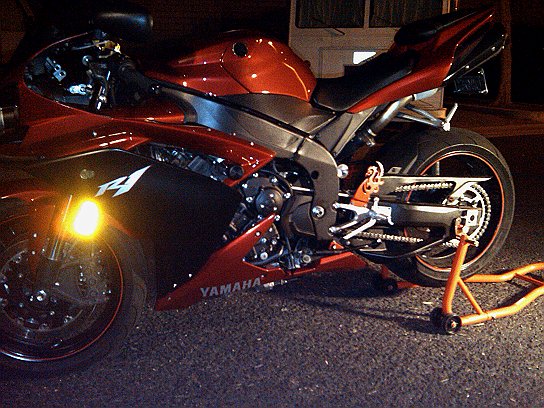
 IMG00071-20090212-2149February 12, 2009 9:49 PM
More shots around the bike with lights off and upper rear tail section back on .
-
 IMG00063-20090207-1534February 7, 2009 3:34 PM
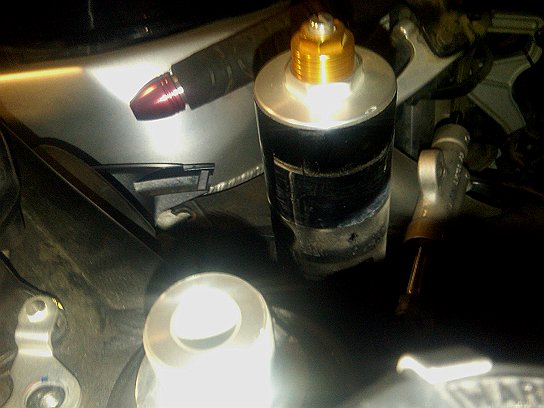
Front brake resevoir mounted with new cover.
-
 P1010430November 30, 0002 12:00 AM
A shot from the front with headlights on, still weird looking without the upper tail section.
-
 P1010431November 30, 0002 12:00 AM
From the other side.
-
 Finished3February 12, 2009 9:49 PM
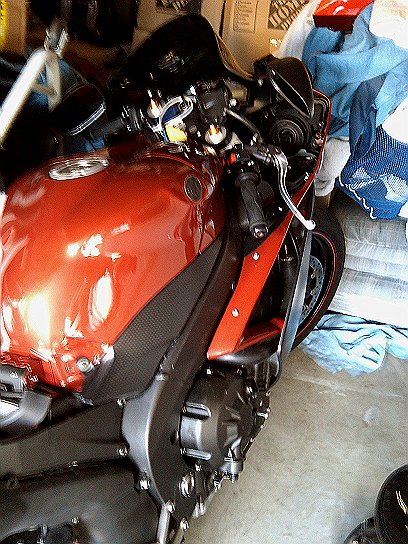
A close shot of the right front.
-
 IMG00072-20090212-2150February 12, 2009 9:49 PM
Another angle
-
 Finished1February 12, 2009 9:50 PM
Close shot of the left front.
-
 IMG00073-20090212-2151February 12, 2009 9:50 PM
Same picture uncropped making it appear further back.
-
 IMG00074-20090212-2151February 12, 2009 9:51 PM
From higher up again.
-
 IMG00075-20090212-2151February 12, 2009 9:51 PM
From the left rear, I should put the kickstand back up for these shots...oh well.
-
 IMG00076-20090212-2152February 12, 2009 9:51 PM
From the right rear.
-
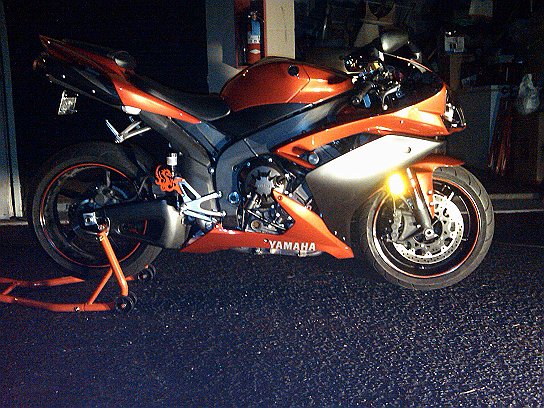
 IMG00077-20090212-2152February 12, 2009 9:52 PM
Right side with everything in place and installed ready to ride.
-
 IMG00078-20090212-2154February 12, 2009 9:52 PM
Left side all complete.
-
 P1010432November 30, 0002 12:00 AM
Kinda dark but looking whole again.
-
 P1010433November 30, 0002 12:00 AM
Isn't it interesting how you can get 2 completely different colors coming out on the same night, same time, but different camera. It's a good feeling to see it back in one piece though in any color lol.
-
 P1010434November 30, 0002 12:00 AM
6 months almost to the day since the accident and I'm all healed, the bike's healed and I can now finally ride again soon.
-
 P1010435November 30, 0002 12:00 AM
I must have been on cloud 9 this night knowing it is finally done, no more sore back and muscles the following morning.
-
 P1010436November 30, 0002 12:00 AM
First daylight shots of the completed project.
-
 P1010437November 30, 0002 12:00 AM
From several angles...lol
-
 P1010439November 30, 0002 12:00 AM
Another one of my favorite shots, I dunno why but it just looks cool from this angle to me.
-
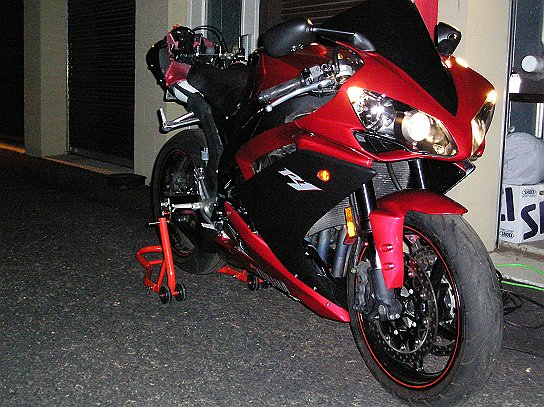
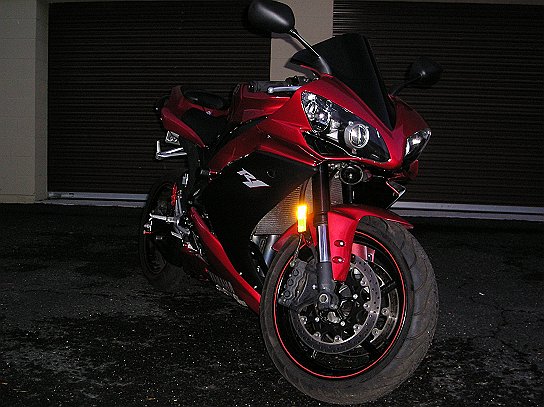
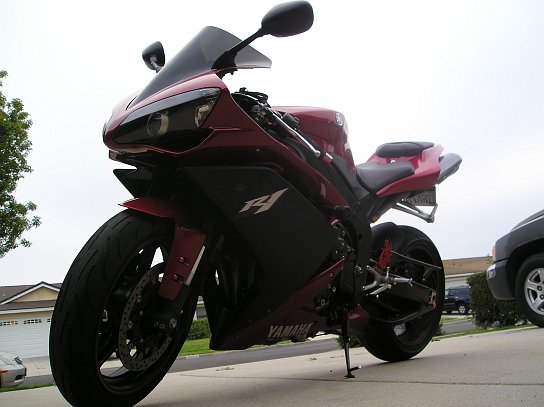
 final_right_frontNovember 30, 0002 12:00 AM
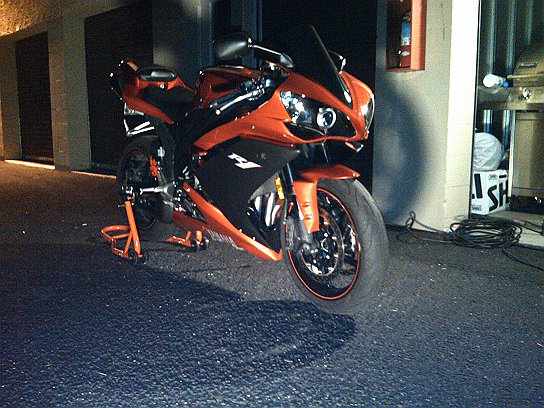
Looking awesome once again. I'm really proud of the outcome, I wasn't sure I could do it at first but just took one thing at a time and eventually it didn't seem so daunting anymore.
-
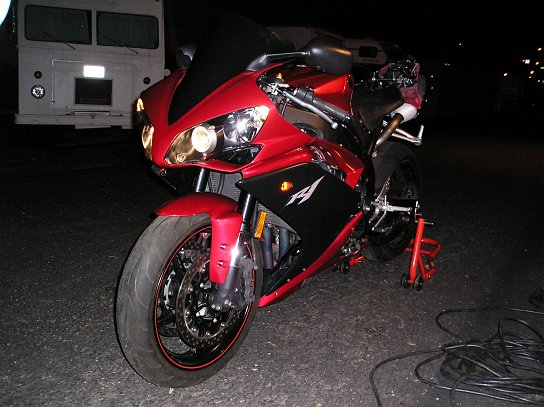
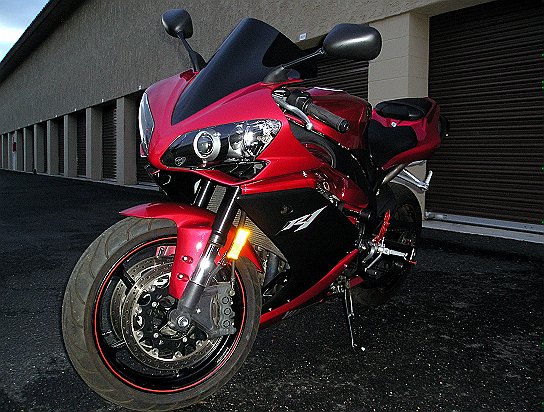
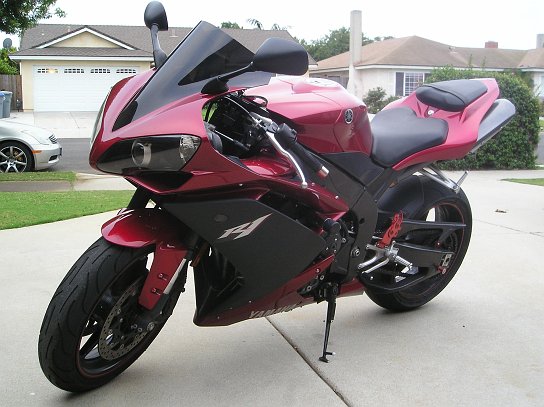
 final_left_frontNovember 30, 0002 12:00 AM
Good to see it ready to ride and looking beautiful again, too bad I didn't notice the one fairing bolt not fastened yet before taking the photo but at least I caught it before it got lost.
-
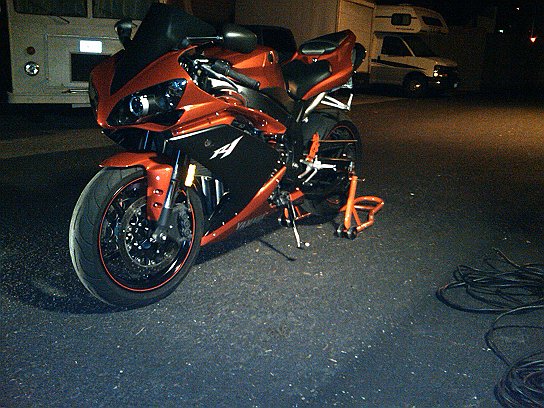
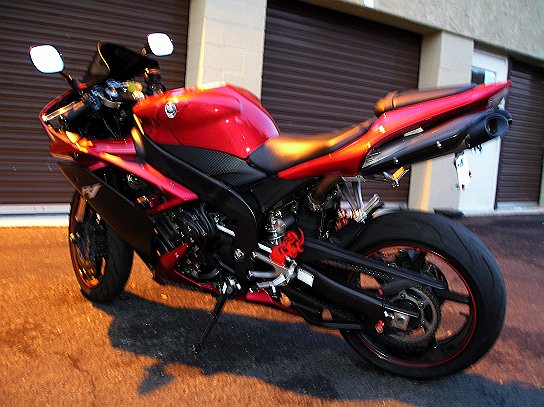
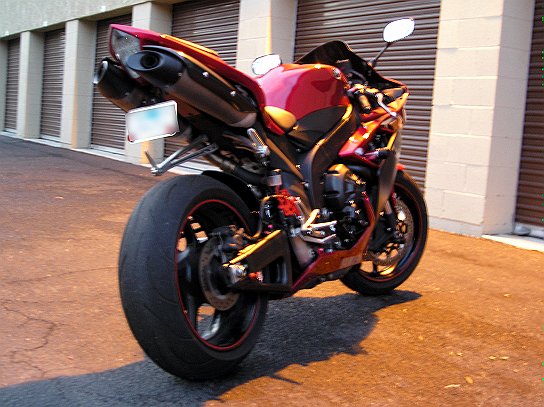
 P1010445November 30, 0002 12:00 AM
Good to see it back together again in one piece :). Note the '06 exhaust, I liked the taper of the exhaust tips better so I went with these but recently changed back to the '07 style with race baffles because I realised if I ever have a passenger the '06's heatshields would be inadequate for protection from the heat. P.S. Sorry about the bluryness...darn camera man..
-
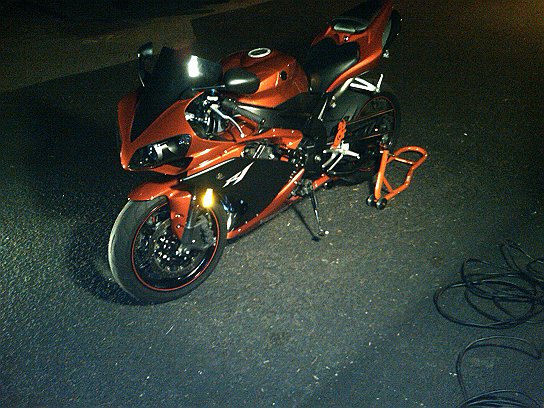
 P1010444November 30, 0002 12:00 AM
This is one of my favorite shots
-
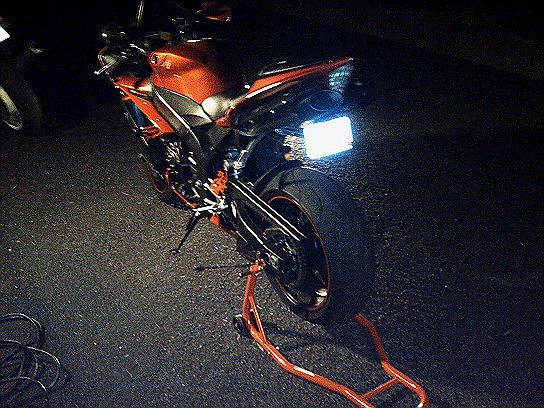
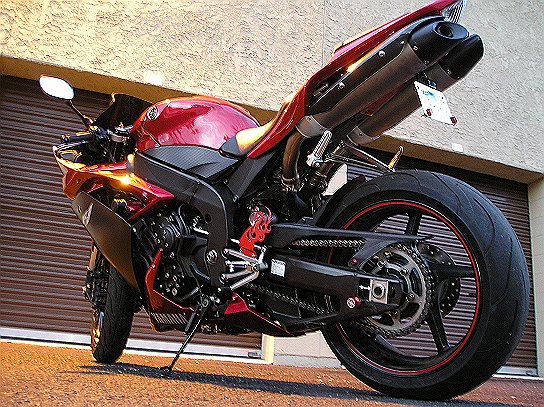
 Right_rear2_blurNovember 30, 0002 12:00 AM
I don't know why but that right side heat shield took flight on the freeway somewhere yet the left never budged.
-
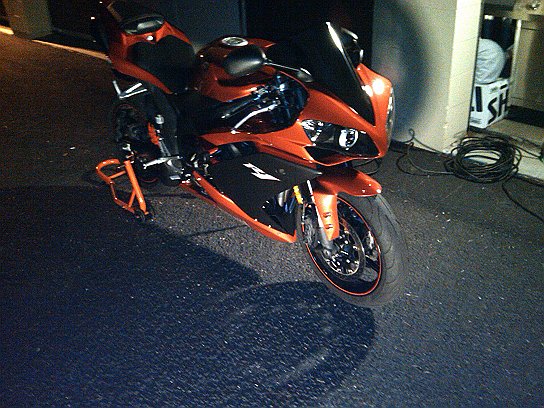
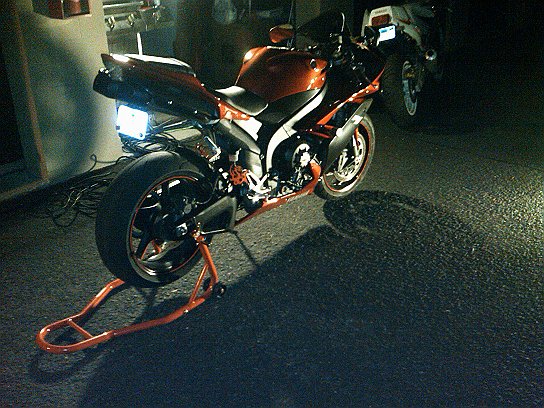
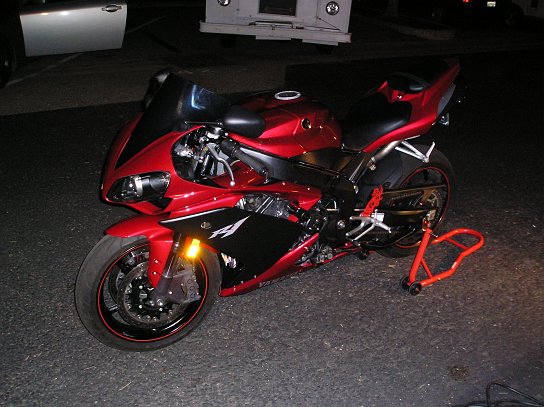
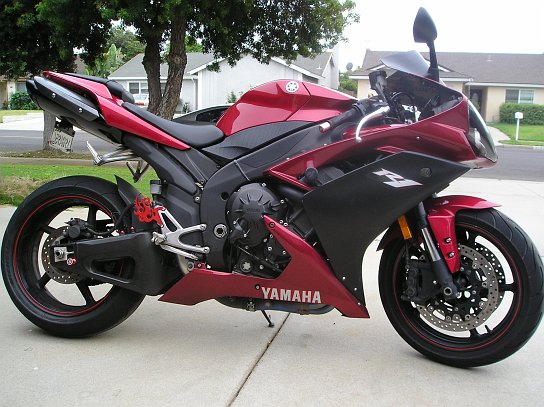
 P9270497September 27, 2009 9:25 PM
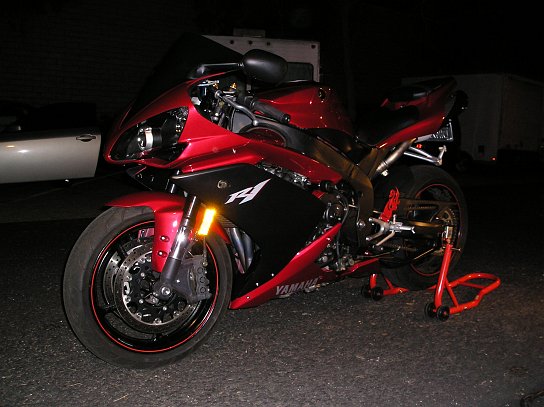
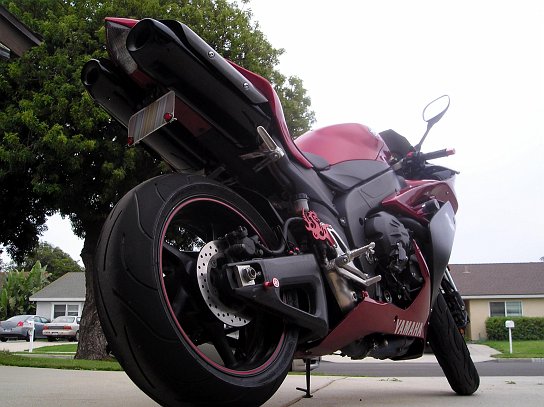
This is 10 months later since the bike had it's major repair...here are a few pictures with the newly installed exhaust. You wouldn't know it by looking at it but I've had to repair it twice more since the last photo due to a low speed wash out with a new rear tire combined with me being absent minded and then just a few days from getting it fixed from that incident I had a cadillac decide to back into it while I was finishing up dining at a sushi restaurant.
-
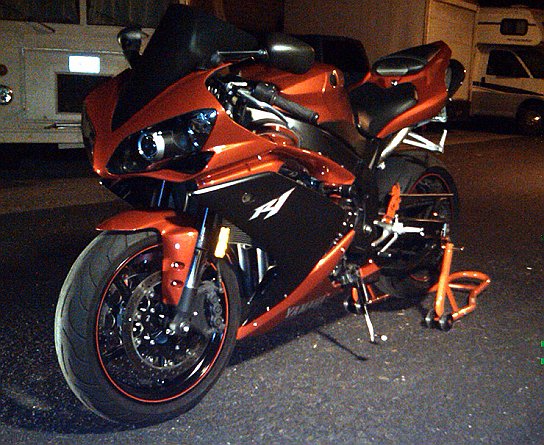
 P9270498September 27, 2009 9:26 PM
Just one of many angles.
-
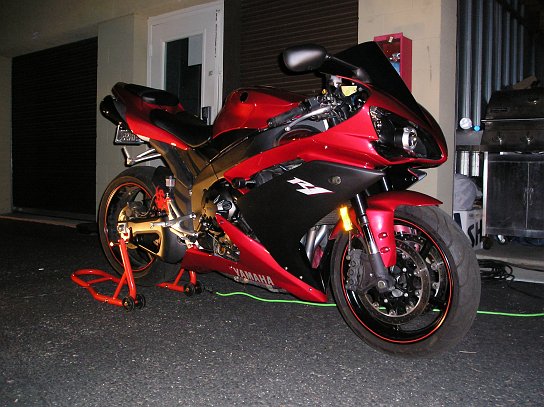
 P9270500September 27, 2009 9:31 PM
I once had someone tell me I didn't have enough angles of my R6 tail mod on my FZR600. So for this mod (the mufflers) I think I did a good job at making sure enough angles were taken...lol
-
 P9270501September 27, 2009 9:32 PM
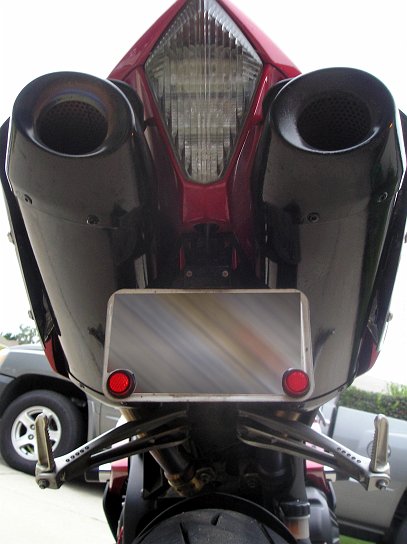
Mental note, next time I decide to paint exhaust wait till it has at least a few days to dry, not too bad but the paint flaked off around the opening where the air is blown out. Had I not been so impatient I think it would not have happened..oh well..live and learn.
-
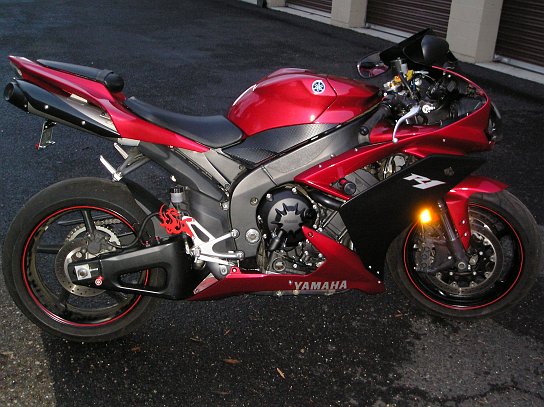
 P9270502September 27, 2009 9:34 PM
Yet another angle..
-
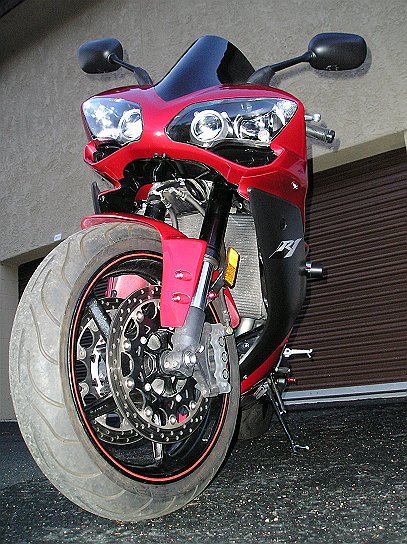
 P9270504September 27, 2009 9:35 PM
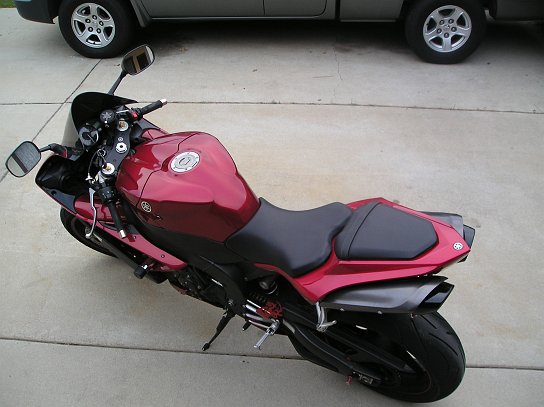
As birds eye as I can get standing on the ground lol.